Web Push Campaign: Creating A Template
- August 25, 2025
- 2 mins read
Table of Content
The Template Builder in REVE chat allows you to create, edit, and manage the message notifications you will send. This guide will walk you through how to set up, customize, and manage your web push notifications so you can engage customers directly on their browsers with real-time updates and personalized campaigns.
Creating A Template
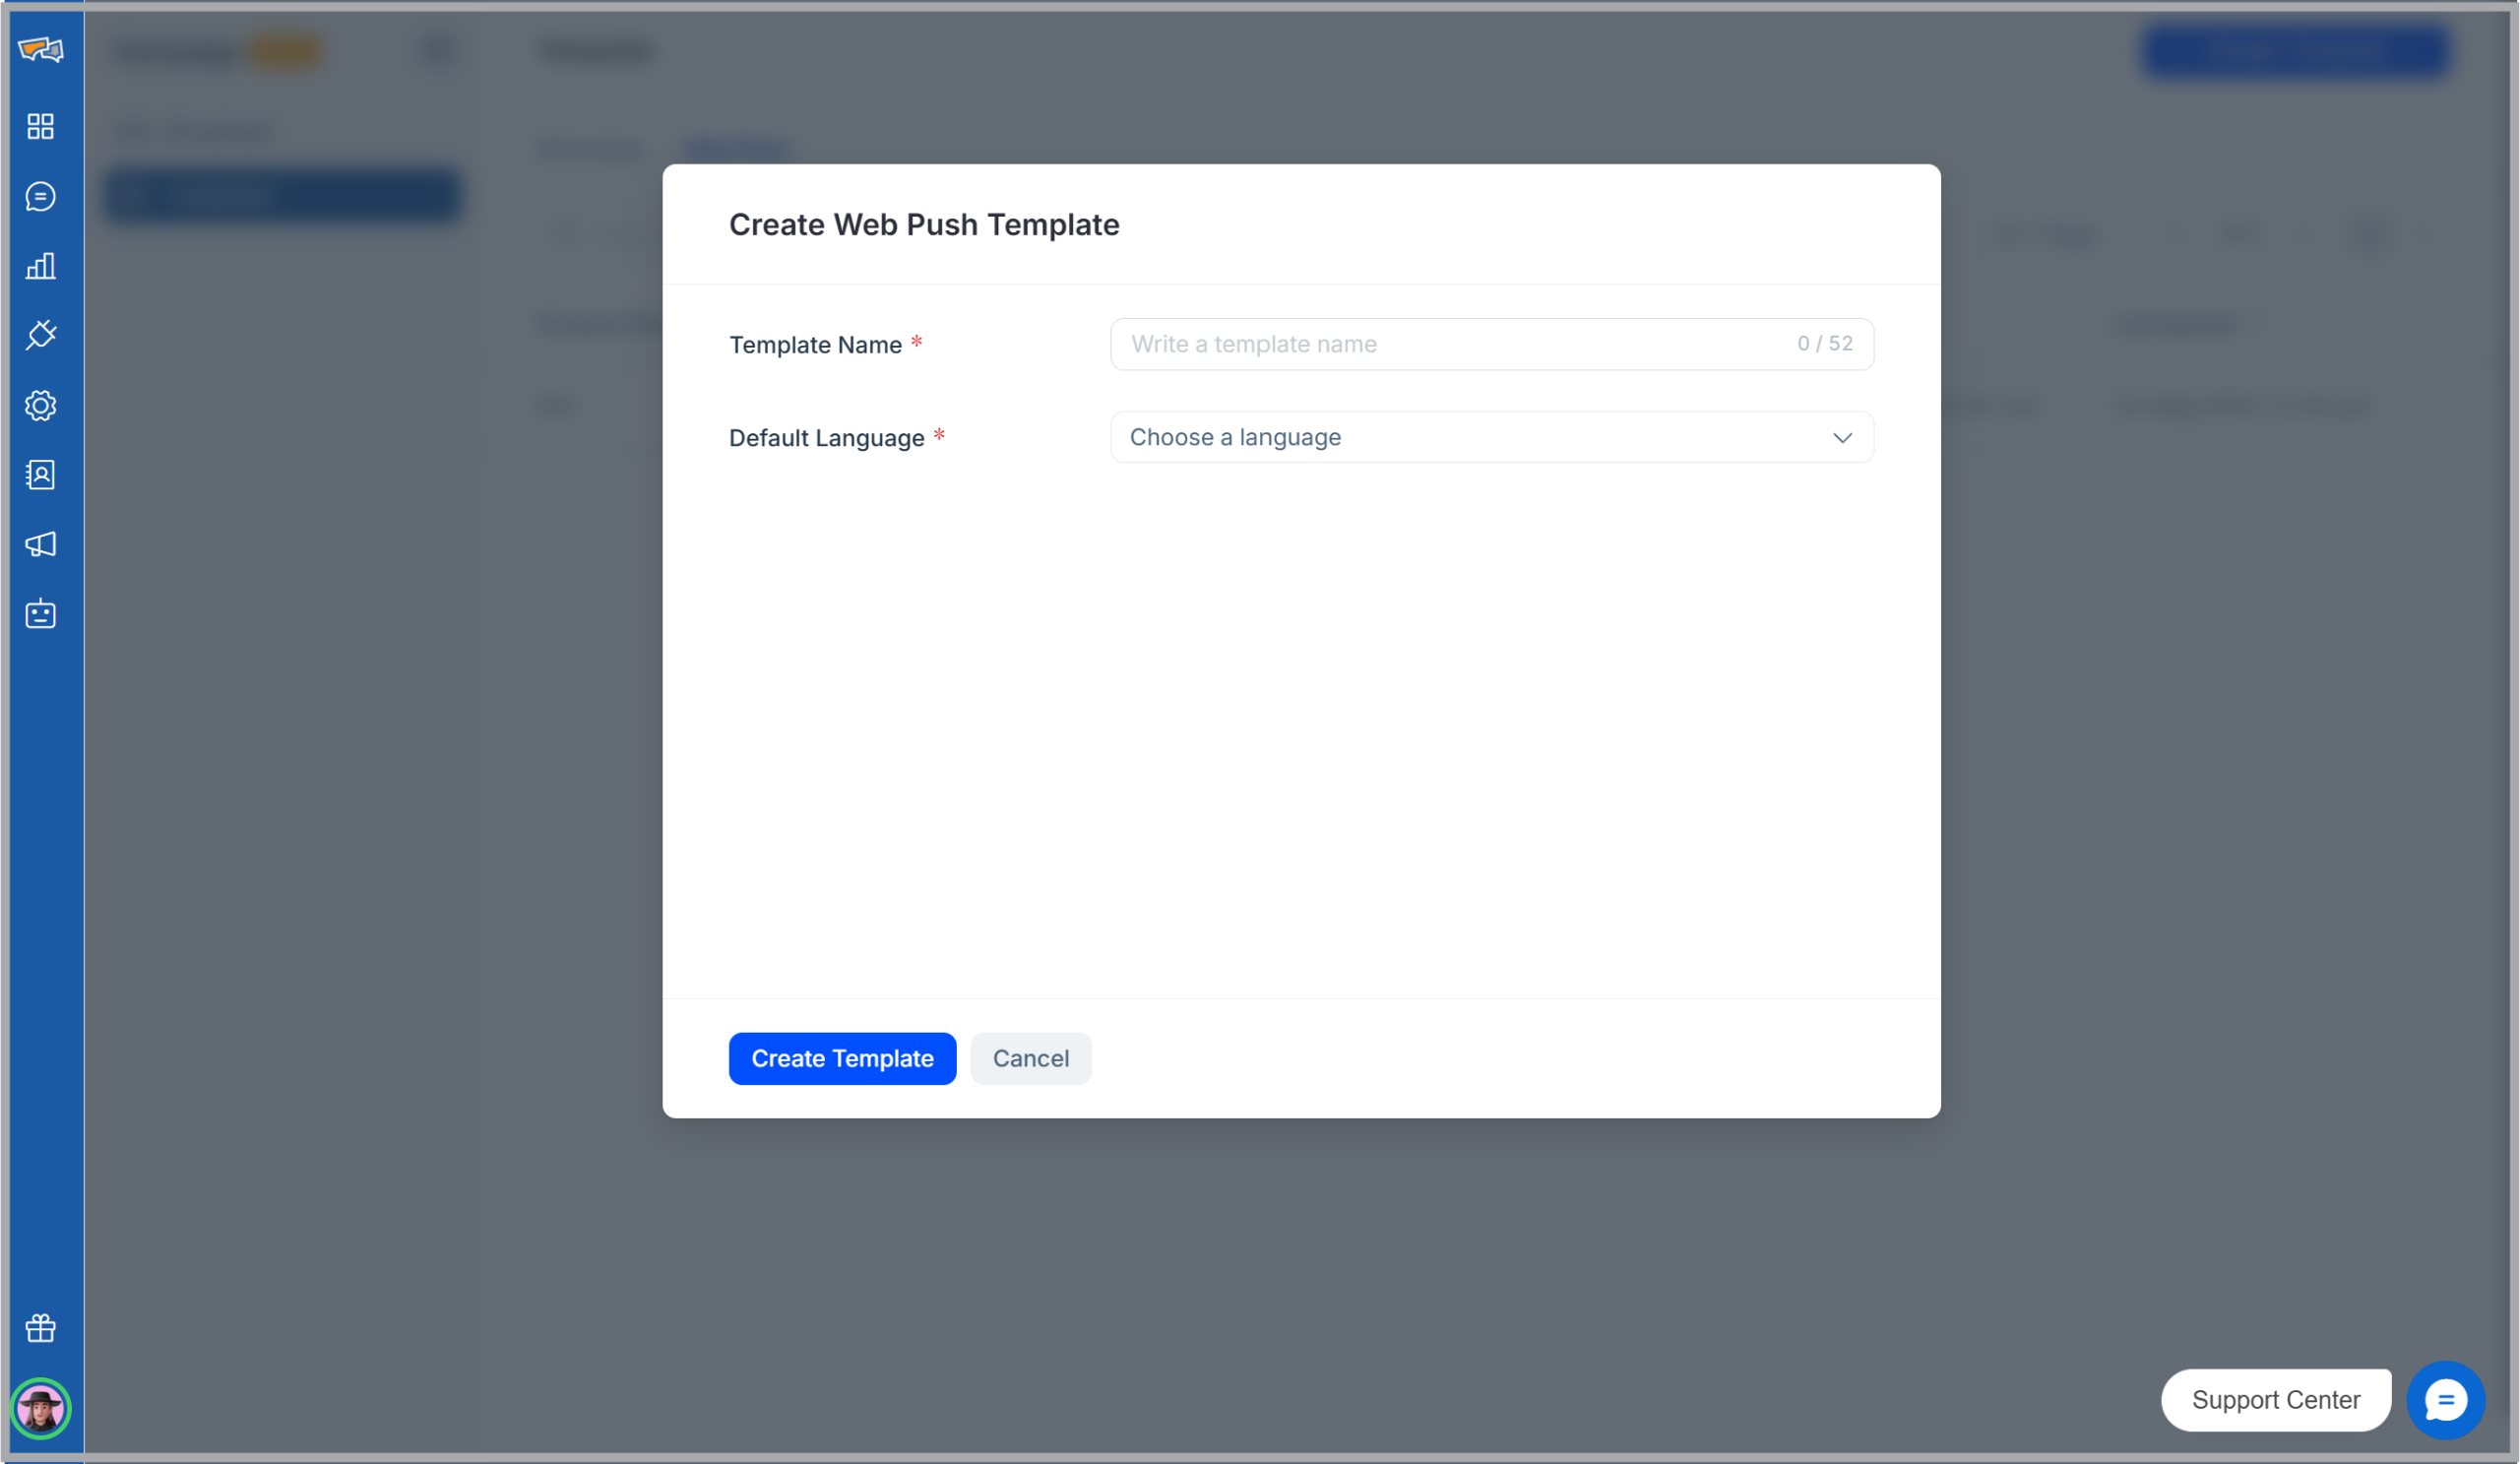
- Click Create Template.
- Choose between Web Push or WhatsApp.
- Provide a template name and select a default language.

- Build your notification:
- Header text: The title of your notification, shown in bold. Keep it short, clear, and eye-catching so users immediately understand the message.It is a mandatory element and maximum 70 characters can be added.
- Body text (max 250 characters): The main message of your notification. Use this space to explain the offer, update, or reminder in more detail while keeping it concise and engaging. It is a mandatory element.
- Icon: A small image, usually your logo, that helps users recognize your brand at a glance and builds trust in the notification.
- Banner Image: A small image, usually your logo, that helps users recognize your brand at a glance and builds trust in the notification.
- Destination URL: The link users are redirected to when clicking the notification. This should always be relevant to the message and can include UTM tags for tracking results. It is a mandatory element.
- Buttons: Optional call-to-action buttons that give users clear next steps, such as “Shop Now” or “Learn More,” with each button linking to a different page.
- Auto-hide Notification: Hides from the main window after a set time, but remains in the notification panel.
- Expire Notification: Set expiry time (minutes, hours, or days) after which the notification is removed.