



Creating Your First REVE Chat Account
- July 6, 2026
- 3 mins read
Table of Content
This guide walks you through creating your REVE Chat account and completing the initial onboarding process.
To create a new REVE Chat account:
- Navigate to the REVE Chat sign-up page.
- Enter your business email address.
- Click Continue.
Alternatively, you can sign up using your Google account by clicking Continue with Google.
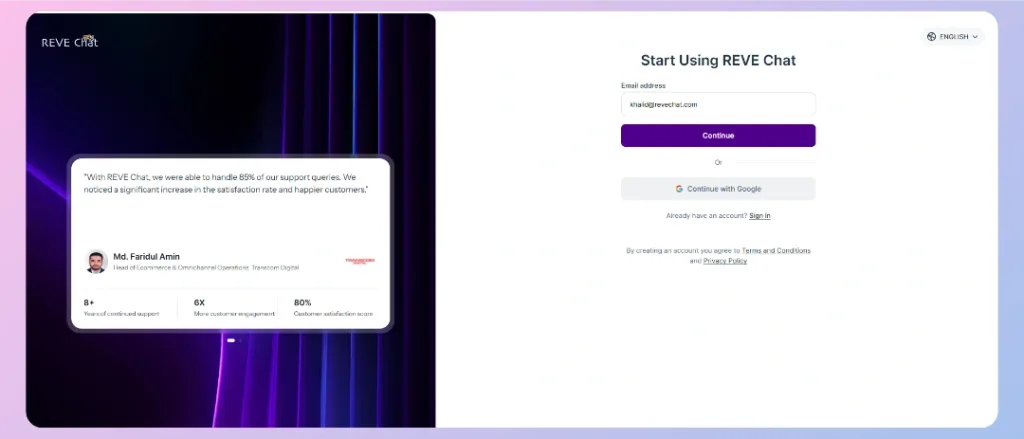
Note: If you already have a REVE Chat account, click Sign in to access your workspace.
1. Verify Your Email Address and Log In
After completing the sign-up process:
- Check your inbox for the verification email from REVE Chat.
- Open the email and click the verification link.
- Once verified, return to REVE Chat and sign in.
If you do not receive the email, check your spam or junk folder, or click Send it again to request a new verification email.
2. Set Up Your Business Profile and Company Information
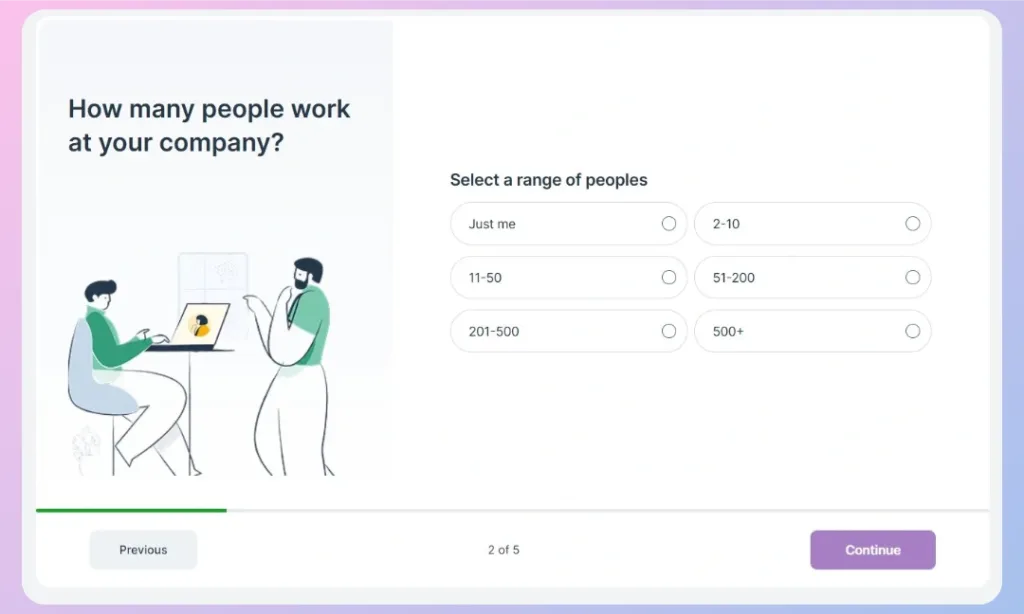
After verifying your email, REVE Chat guides you through a short onboarding process to personalize your workspace.
- Select your industry: E-Commerce & Retail, Banking & Finance, SaaS/Technology, Telecom & Media, Healthcare, Education & Edtech, Real Estate, Govt & Public Sector, or Others.
- Select your company size: Just me, 2-10, 11-50, 51-200, 201-500, or 500+.
- Enter your company name (required) and, optionally, your company website.
Click ‘’Continue’’ after each screen, or Previous to go back and change an earlier answer. A progress bar and step counter at the bottom track where you are in the wizard.
3. Select Your Preferred Support Features
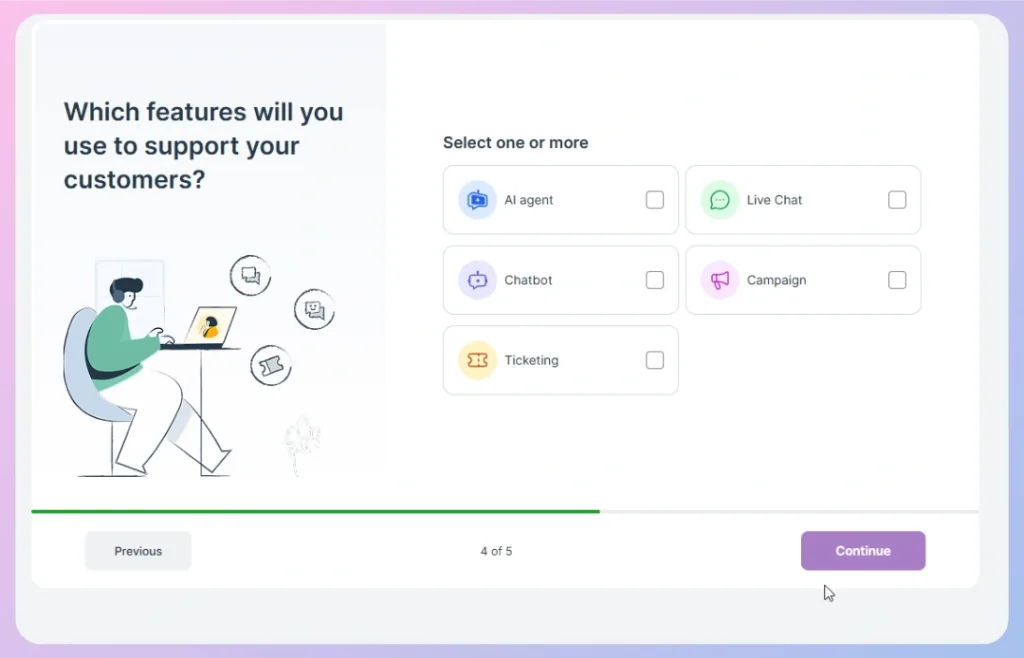
Next, choose the REVE Chat features you plan to use. You can select one or more options:
- AI Agent
- Live Chat
- Chatbot
- Campaign
- Ticketing
These selections help REVE Chat customize your initial workspace setup.
Click Continue after making your selections.
4. Select Your Communication Channels
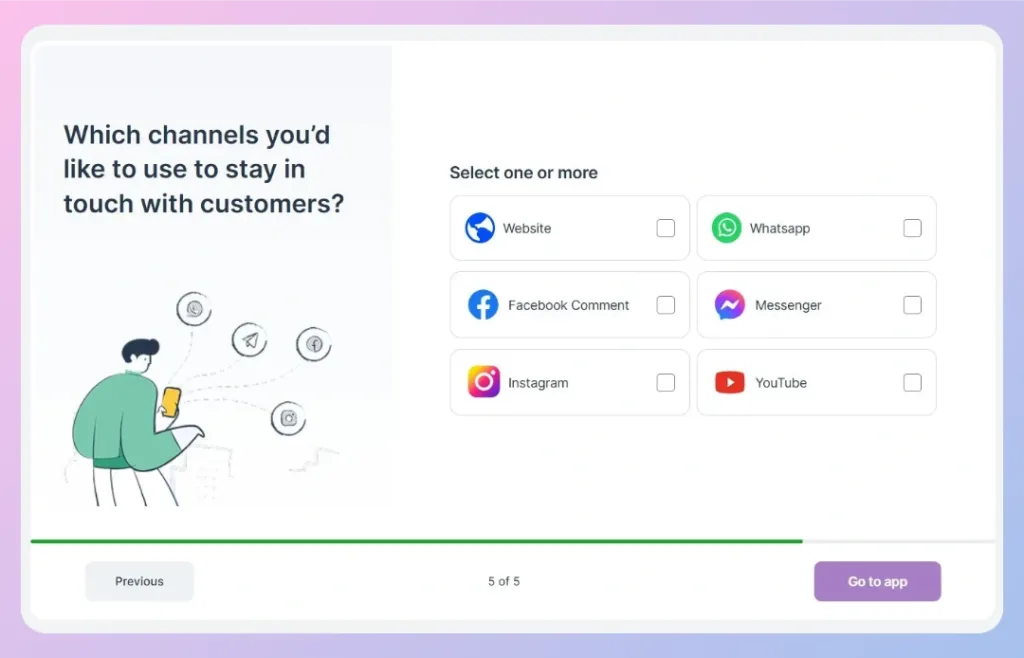
Choose the channels where you want to interact with customers.
Available channels include:
- Website
- Facebook Comments
- Messenger
- YouTube
You can select multiple channels based on your customer communication strategy.
Once completed, click Go to App.
Accessing the REVE Chat Workspace
After completing the onboarding process, you will be redirected to the REVE Chat dashboard.
The first screen displays the available communication channels and integration options, allowing you to connect your preferred customer touchpoints and start receiving conversations.
From here, you can:
- Integrate your website, store, or social channels such as WhatsApp, Facebook, and Instagram.
- Configure AI Agents and chatbots
- Customize your Widget
- Start managing customer conversations from a unified inbox
- Test out campaign templates
- Check our ticketing system
Quick Start Guide to Launching REVE Chat
Use the following steps to quickly launch REVE Chat and start engaging with your customers.
Step 1: Install and Add the REVE Chat Widget to Your Website
Install the REVE Chat widget on your website to start capturing and managing visitor conversations. (Click here to set up widget)
📌 Note: Skip this step if you want to connect only social channels such as WhatsApp, Facebook, and Instagram.
Step 2: Connect Your Preferred Communication Channels
Connect channels such as WhatsApp, Facebook, Instagram, and other supported platforms to centralize customer interactions. (Click here to connect your channels)
Step 3: Create and Configure Your First AI Agent
Build and configure an AI Agent to automate customer support, answer common questions, and perform business-specific tasks. (Click here to create your AI Agent)
Step 4: Set Up the Inbox and Ticket Management System
Configure your shared inbox and ticketing workflows to manage conversations and customer requests efficiently. (Click here to set up ticketing)
Step 5: Review Settings and Go Live
Review your workspace settings, channel configurations, and automation rules before launching REVE Chat for your customers.

 Start free trial