
🚀 New Release: Introducing AI Agent for Ecommerce: Sell more. Support faster. Grow smarter.

Book your AI agent demo
Start for free
Table of Content

    How to Enable Tickets Option

    • July 27, 2025
    • 4 mins read

    Table of Content

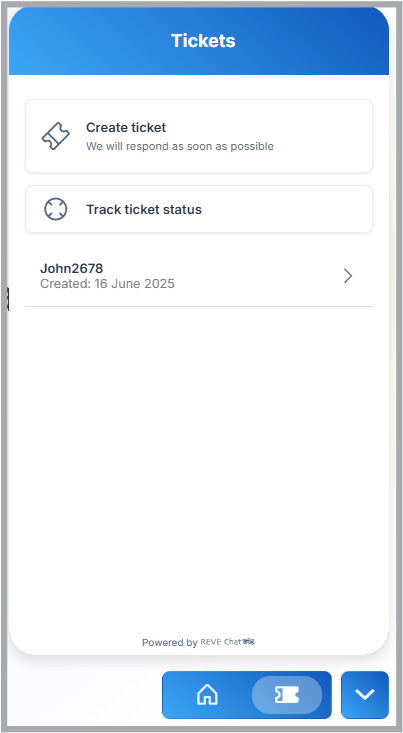
      The Tickets option allows website visitors to submit support requests directly from the REVE Chat widget. To make this option available, enable Tickets in the chat widget, create a ticket form, and add the form to the widget.

      Enable Tickets in the Chat Widget

      Before visitors can create tickets, you need to make the Tickets option available in your website chat widget.

      Step 1: Open Chat Widget Settings

      • Log in to your REVE Chat dashboard.
      • Go to Settings.
      • Select Chat Widgets from the left-side menu.
      • Choose the chat widget you want to configure.

      You will be taken to the widget configuration page.

       Open Chat Widget Settings

      Step 2: Enable Tickets from the Menu Layout

      Under the Appearance tab:

      • Expand the Menu layout section.
      • Find Ticket.
      • Turn on the toggle beside Ticket.

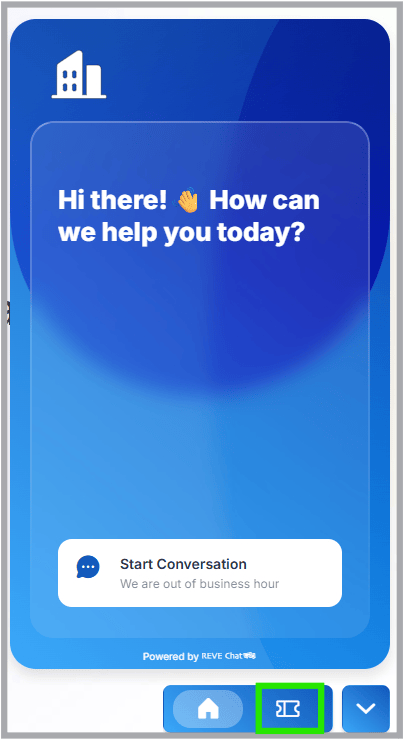
      Once enabled, the Ticket icon will be added to the navigation area of the chat widget.

      You can check the preview on the right side of the screen to see how the Tickets option will appear to website visitors.

      Enable Tickets from the Menu Layout

      Step 3: Save the Change

      Click Save Changes in the upper-right corner.

      The Tickets option is now enabled for the widget. However, before customers can submit a support request, you need to create and assign a ticket form.

      Create and Configure a Ticket Form

      Ticket forms allow you to decide what information customers need to provide when submitting a support request.

      For example, you can collect their name, email address, phone number, issue details, department, or other information relevant to your support process.

      Step 1: Open the Forms Section

      From the chat widget configuration page:

      • Click the Forms tab.
      • Under Live Chat Form, click + Create form.

      This opens the Forms management page.

      Open the Forms Section

      Step 2: Create a New Ticket Form

      On the Forms page:

      • Select the Ticket tab.
      • Click + Create Form in the upper-right corner.
      • Enter the required basic information for the form.
      • Continue to the form builder.

      The form builder lets you design the information customers need to provide when creating a ticket.

      Create a New Ticket Form

      Step 3: Add Fields to the Form

      Add the fields that are relevant to the type of support request you want to collect.

      The form builder provides fields such as:

      • Name
      • Phone
      • Email
      • Text Box
      • Sub-header
      • and many more

      Only include fields that are useful for your support team. Keeping the form short makes it easier for visitors to complete.

      Add Fields to the Form

      Configure Individual Fields

      When you add a field, you can customize its settings.

      For example, for a text field you can configure:

      • Label: The field name shown to the visitor.
      • Placeholder: Example text displayed inside the field.
      • Required: Turn this on when the visitor must complete the field before submitting the form.
      • Long Area / Short Area: Choose the appropriate text input size.
      • Minimum and maximum characters: Control how much information a visitor can enter.
      • Save answer to attribute: Store the submitted information in an available customer attribute when required.

      Repeat this process until the form contains all the information your support team needs.

      Step 4: Preview the Form

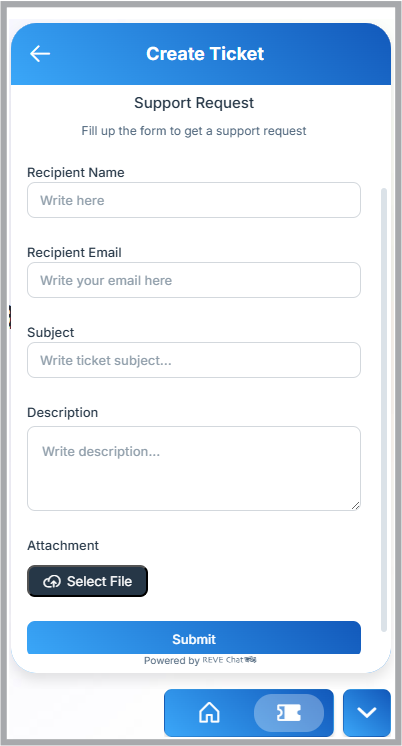
      Before making the form available to customers, click Preview.

      The preview shows how the form will appear inside the chat widget.

      Check that:

      • The heading and description are clear.
      • All required fields are included.
      • Field labels and placeholders are easy to understand.
      • Required fields are marked correctly.
      • The form is not unnecessarily long.

      Make any required changes before publishing.

       Preview the Form

      Step 5: Publish the Form

      When the form is ready, enable or publish it from the form builder.

      Make sure the form status shows Published. Only published forms should be used in the live widget.

      Add the Ticket Form to the Chat Widget

      After creating the form, return to your chat widget settings.

      Step 1: Open Ticket Form Settings

      Go to: Settings → Chat Widgets → Select Widget → Forms

      Scroll to the Ticket Forms section.

      Here you can configure how the ticket creation screen appears to visitors.

      Add the Ticket Form to the Chat Widget

      Select Available Ticket Forms

      Choose the ticket form or forms you want customers to be able to use from the widget.

      If you have created different forms for different types of support requests, you can make the appropriate forms available here.

      Step 2: Save the Widget Configuration

      After configuring the Ticket Forms section, click Save Changes.

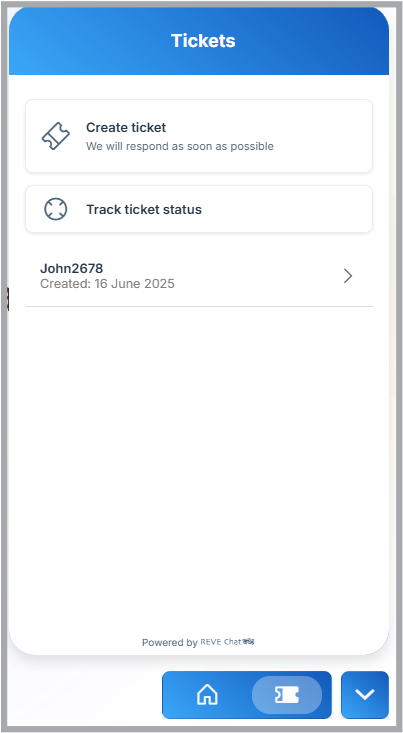
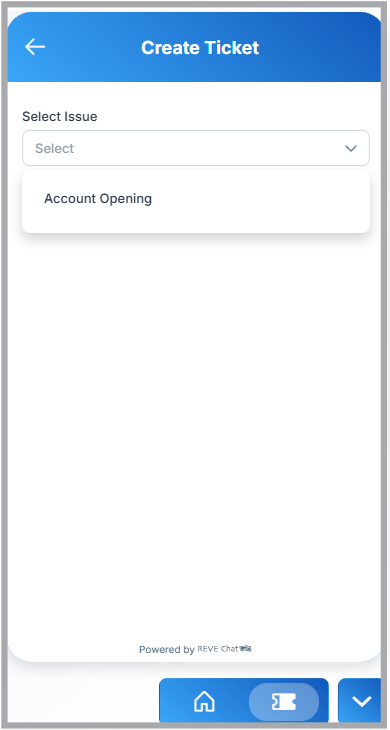
      The ticketing experience is now ready to be used on your website.

      You can also use Preview in Test Site to check the complete experience before making it available to visitors.

      Preview ticket option in live site

      Tip: If the Tickets option does not appear on your website, confirm that the Ticket toggle is enabled, your ticket form is published and selected, and the latest widget configuration has been saved using Save Changes.

      AUTHOR’S BIO

      Rahat Hassan is a strategic Product Marketing Manager at REVE Chat specializing in customer experience & communication. He is passionate about creating compelling content for diverse audiences. Beyond work, he enjoys reading articles and watching videos on trending technological shifts ...

      0:00 / 0:00
      ×