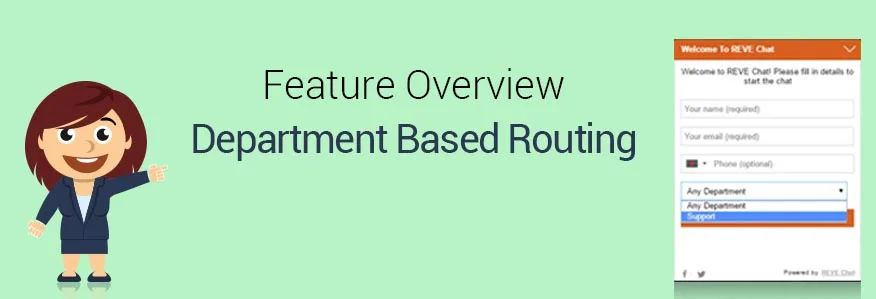
REVE Chat has recently launched its new feature, ‘Department Routing’ which helps to route chat requests to specific departments and allows your visitors to talk to the right agents. Being incredibly powerful, its automated routing facility will help you manage customer support in a better way.
In your company, you may have multiple departments handling different segments such as sales, customer support, billing, etc. Your customers also will have different types of queries and routing them to the right department will help to resolve their issues much faster and also eliminate extra chat transfers.
REVE Chat offers a 14-day FREE TRIAL to try all its advanced features. So SIGN UP today.
How does Department Routing work?

Whenever a visitor on your website wants to initiate a live chat session with one of your support agents, he needs to click on the ‘Chat with us’ banner. Then he will be given a pre-chat form which he needs to fill up to get started. There will be an option to select his preferred department. You can create several departments with support agents handling specific issues, for example, Sales, Support, Payment & Billing. Whenever a visitor selects any of these departments, he will be directly routed there.
When a new chat request comes to a specific department, only agents listed in that group will be able to see that and one among them can accept it to initiate the chat session.
Benefits of Department Routing
-
Faster resolution to customer queries
-
Automated routing helps to provide much more effective and high-quality customer support
-
Eliminates unnecessary chat transfers
-
Improved customer happiness and word-of-mouth
-
Better ROI
The configuration process of Department Routing
For chat routing, to add a separate department with a specific group of agents, please follow the below-mentioned steps:
-
Login to your REVE Chat dashboard and go to ‘Customization’. Next, select ‘Department’ from the dropdown list. To add a specific department, click on the ‘ADD DEPARTMENT’ button.

-
Here you will see 3 options.

-
-
Department Name: Select the name of the department you want to add. For example, let’s add a department called ‘Payments & Billing’.
-
Description: Here you can mention specific details and describe the responsibilities of that specific department.
-
Select Agents: Here you will see the list of your added agents. Select the specific agents whom you wish to add to this group. Next, click on the ‘Create Department’ button to save your changes.
-
-
That’s it. You are done. For chat routing, the ‘Payments & Billing’ department has been added successfully. Any time you can edit or delete a specific department by clicking on the ‘Edit’ and ‘Delete’ tabs placed in the same row under ‘Action’.

Undoubtedly the Department Routing will help customers get effective support much faster than before.
Check also: Kano Customer Satisfaction Model and its Importance for Your Business